How to Build a Killer KDP Book Cover for FREE in a Few Easy Steps


Table of Contents
No capital? No worries.
Did you know you can build a no-content book fairly quickly on Kindle without needing a major publishing house, any major skills, or even any major third-party websites?
In fact, by the end of this series, as long as you follow along and have a strong desire to learn how to self publish on Amazon — you’ll have a fully composed no-content journal ready to publish.
This is part one of a four-part series covering the ins and outs of selling digital products on Amazon, and while I will not be discussing how to find a good niche or which topic to create a no-content book around, in this article, you will learn how to create the COVER for your new book that you will be self-publishing on Kindle assuming you already have a topic in mind.
Let’s get started.
How To Create Your Kindle Book Cover
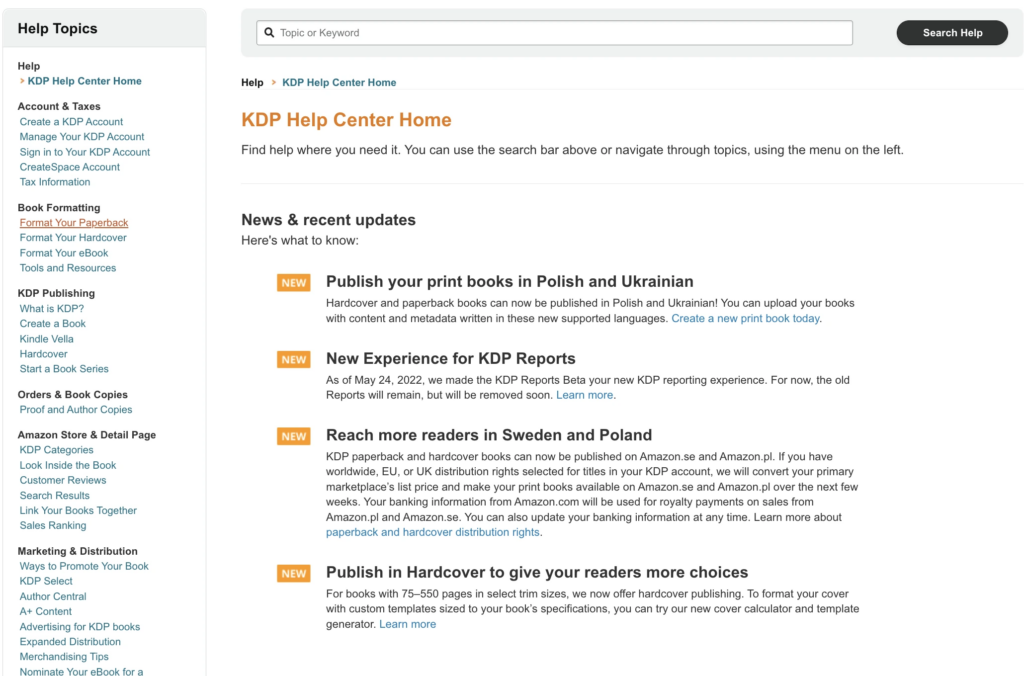
1. First, you’ll need to download a template from Amazon KDP, which will help you size the area for your back cover, front cover, and spine. To find the template, head over to https://kdp.amazon.com/en_US/ and click on Help in the top right-hand corner.

2. Select Format Your Paperback in the left-hand panel.
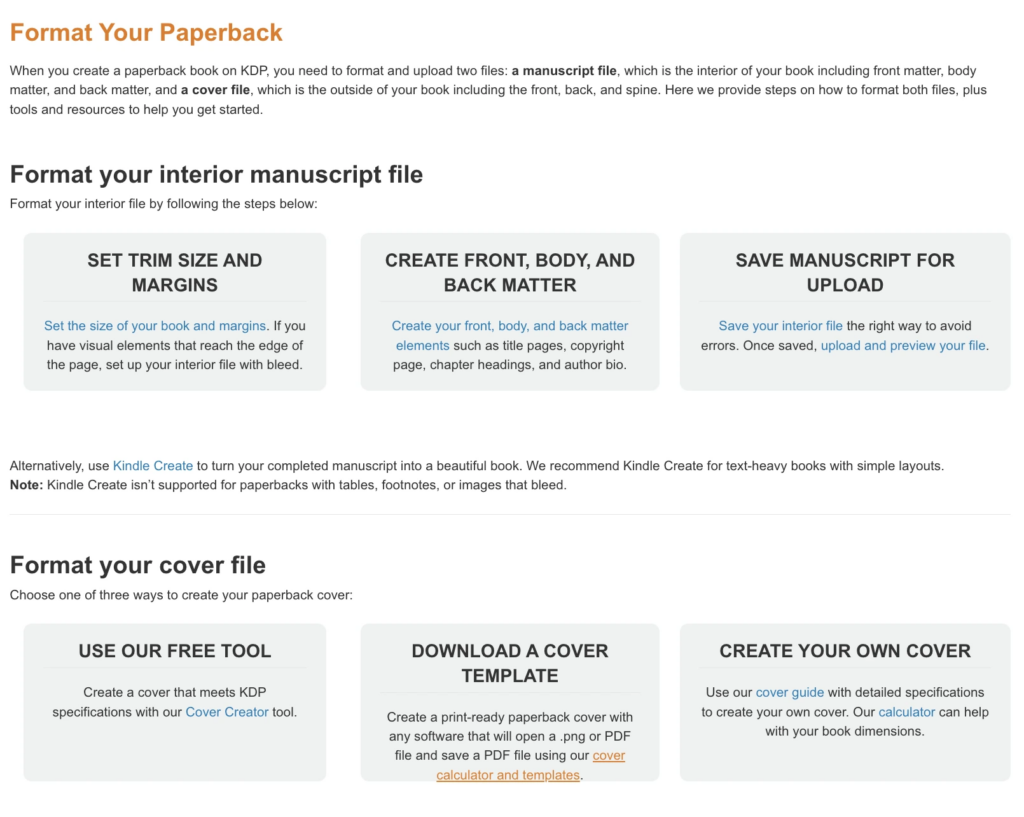
3. Scroll down and choose the link that says cover calculators and templates underneath Download a Cover Template.
4. Clicking cover calculator and templates will take you to a page where you will need to upload some information such as binding type (paperback or hardcover), interior type (back & white, premium color and standard color), paper type (white paper, or cream paper), page-term direction (left to right or right to left), measurement units (inches, millimeters), interior trim size (we’ll select 6×9), and page count (we did 62 — typical is 120). Inputting the necessary information will allow you to calculate the exact dimensions of your cover.

5. Hit Calculate Dimensions, and then Download Template to get the PDF and PNG versions of your template.

6. Open and note the overall dimensions on the front page, as those metrics are what you will need to use when building a cover template inside of Canva.
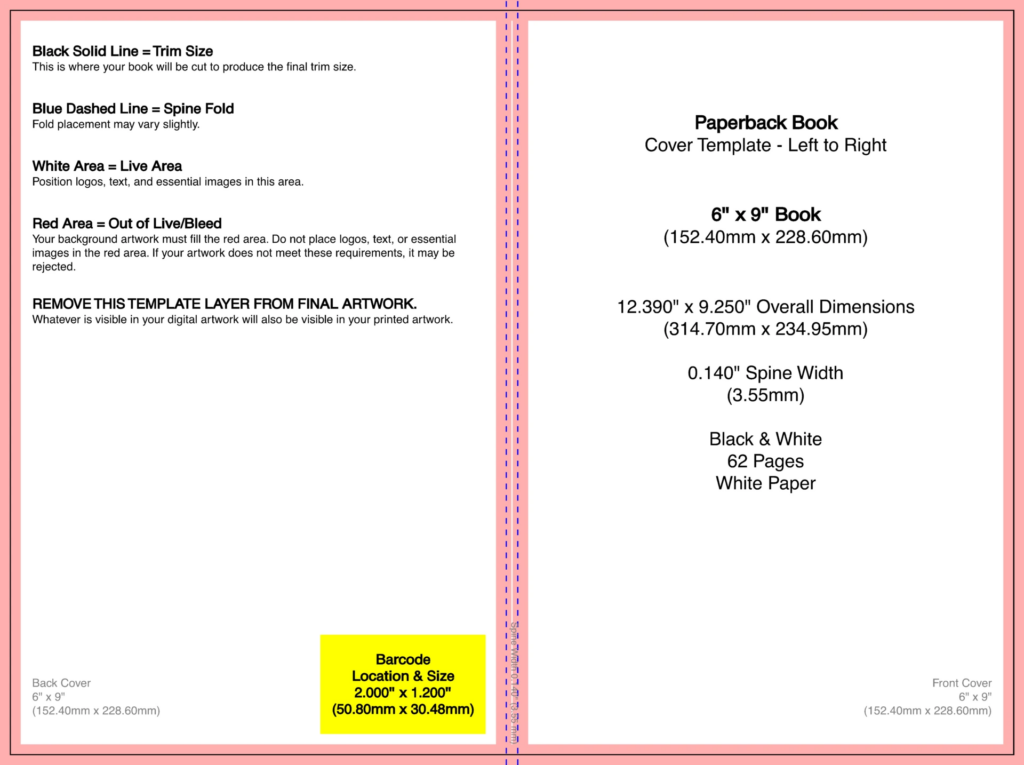
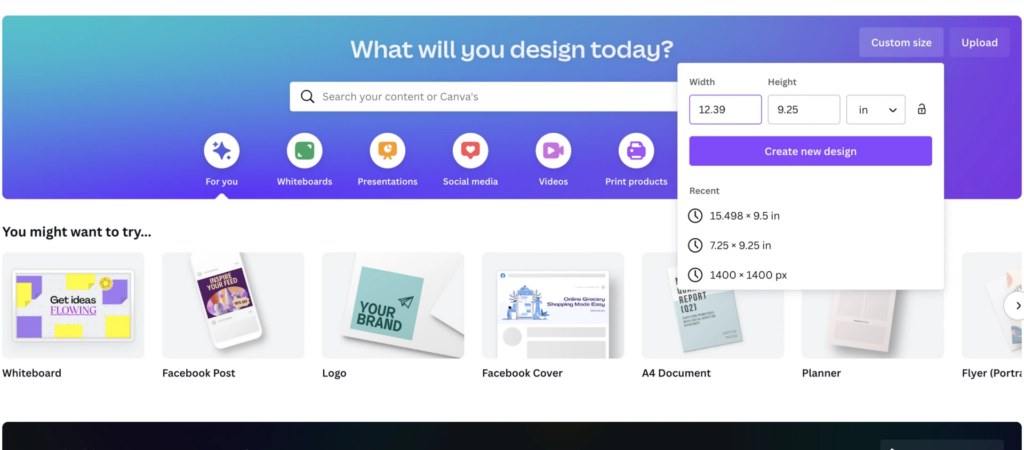
7. Go to the Canva homepage – it’s FREE – either click Create a Design in the top-right-hand corner or Custom Size next to Upload. Input the overall dimensions remembering to change the units to inches. Once you’ve inputted the parameters, click Create New Design.
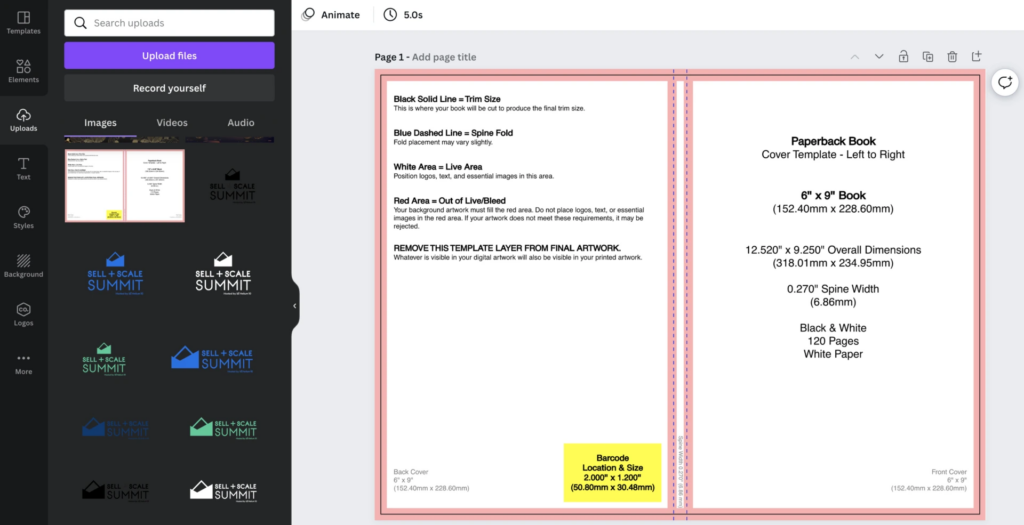
8. Navigate to the Uploads tab on the left-hand panel. Drag the recently downloaded PNG version of the template into Canva into the box or upload the .png into the upload box. After it is loaded into the images section of the Uploads section, drag it into the white box and fill in the dimensions provided. End by clicking the lock symbol in the right-hand corner.
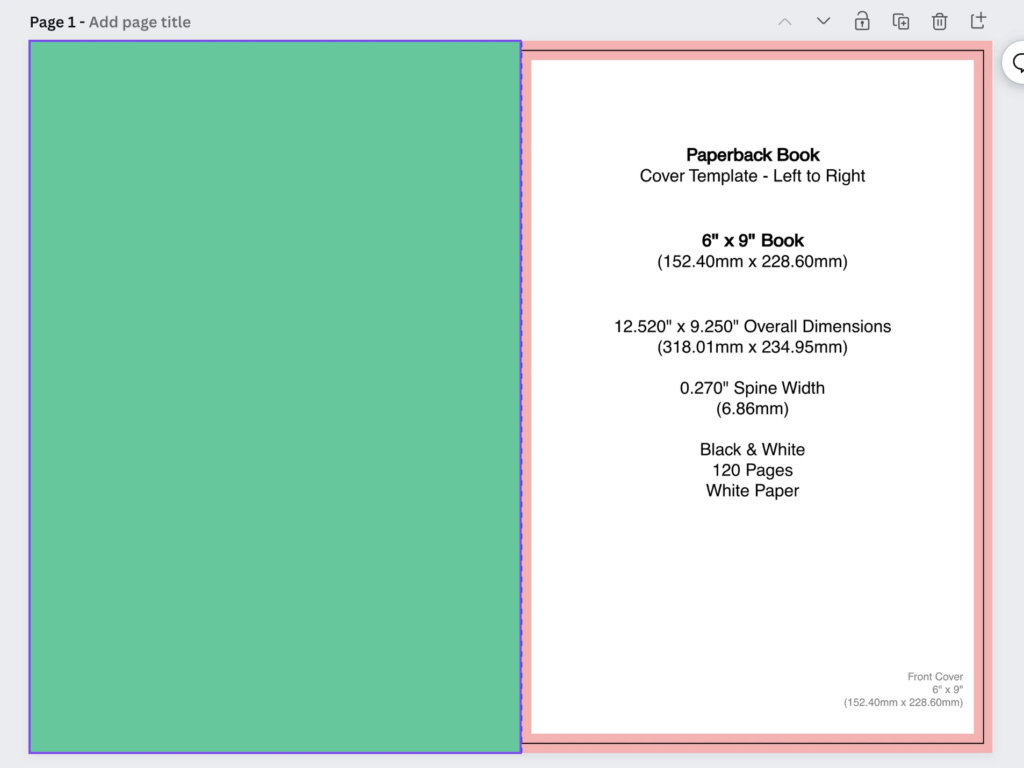
9. Go to elements and add a square from underneath Lines & Shapes. Drag the square to the left-hand side of the template and cover it over to the second dotted line, which indicates the front cover.
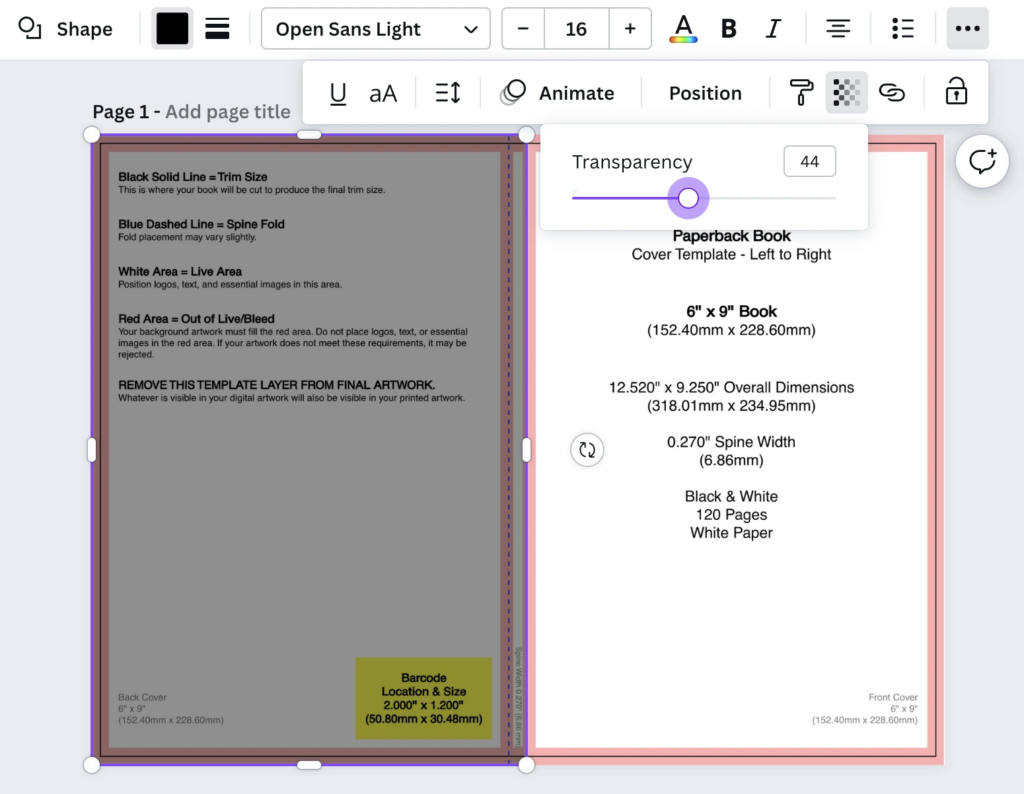
10. Change the color of the box to choose whatever color you want the back cover to be. I chose Black before clicking the transparency button, diminishing it, and clicking lock.
11. At this point, you can use the elements tab to create a killer front cover. You can also use third-party sites like Creative Fabrica, Vecteezy, or even Fiverr or Upwork to hire third-party designers to build you a cover from scratch. Upload to Canva and drag the image to fit your front cover dimensions.
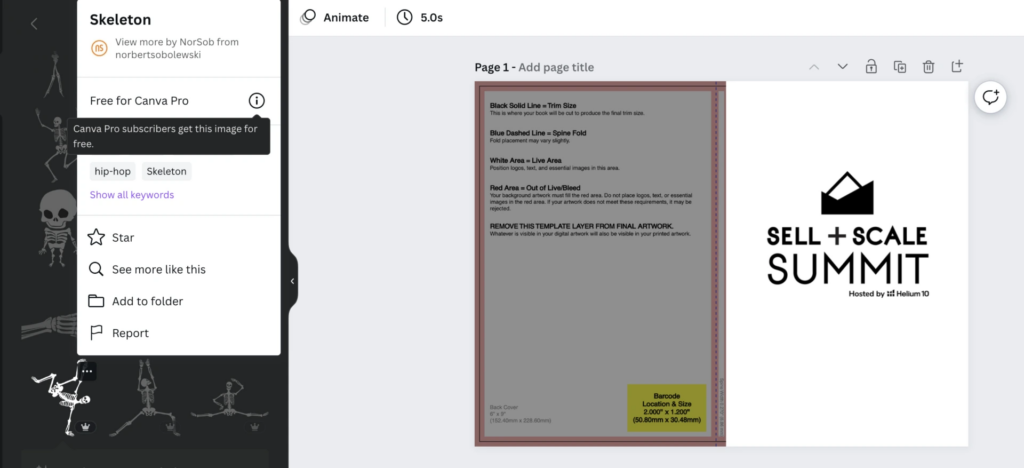
In the case you have a Pro account, you can also use premium element images in Canva that are designated as premium by a little crown icon. Want to use one of them but don’t have a pro account? You can easily pay for them individually or open a subscription.
You can also hover over it, click the three little dots to see information about the image, and see licensing information. Click the circled “I” icon to learn more about the license to ensure the licensing is okay for commercial usage.
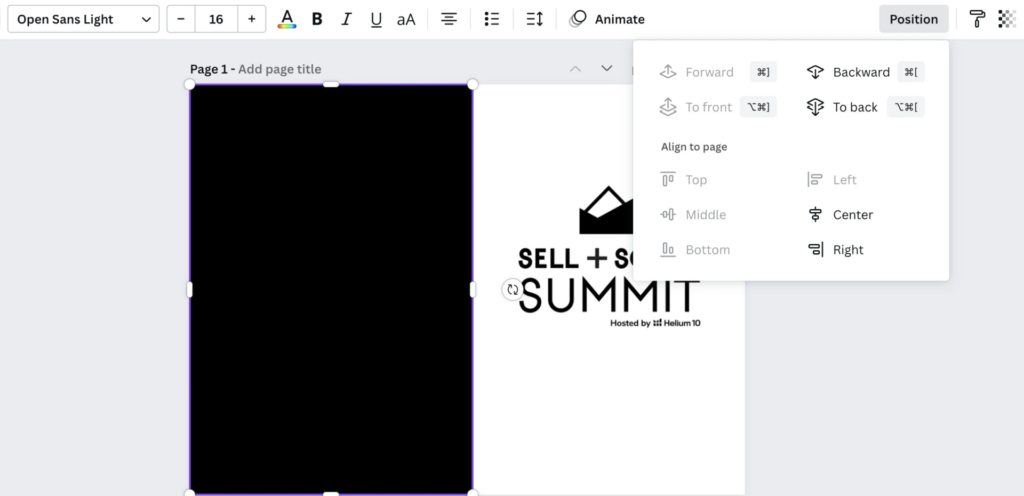
12. Once you have finished creating your front cover, you will want to go back to the transparency filter, and set it back to 100. Unlock the icon, click on the back cover, position and select “to front”
13. Now, if you only added images and you want a prettier cover that is not as simple as the one I created, maybe you will still need to add a title. You can do that by using the text section in the left-hand panel.
Beautify it until you are content, but that is the last finishing touch on how to build a killer KDP book cover for free.
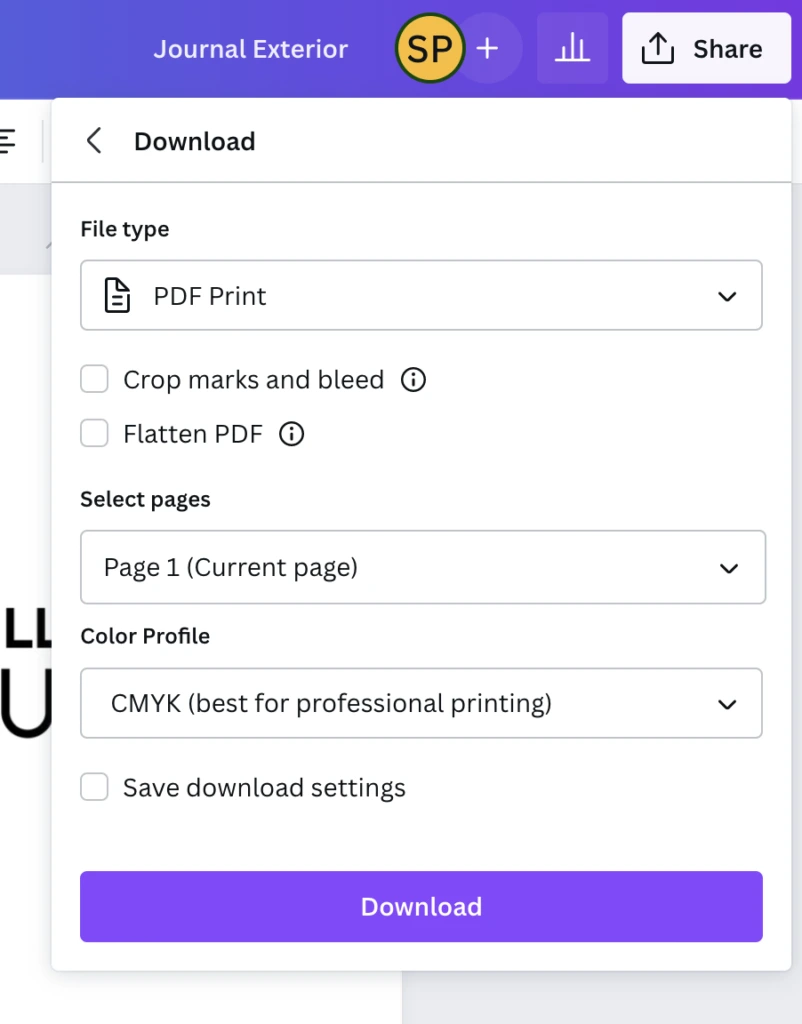
14. The last step will be to save your newly created cover by clicking Share in the top right-hand corner, clicking Download, and saving it as PDF Print.
With that, you should have a high-quality cover ready to upload to Kindle for your paperback book, whether it is a no-content, medium-content, or high-content book.
Next comes the interior. Stay tuned for Part 2!
Frequently Asked Questions
Achieve More Results in Less Time
Accelerate the Growth of Your Business, Brand or Agency
Maximize your results and drive success faster with Helium 10’s full suite of Amazon and Walmart solutions.
